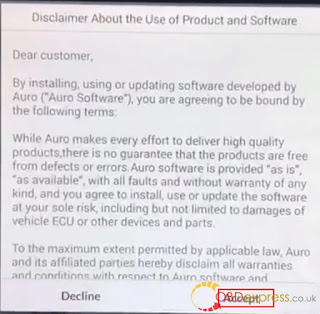
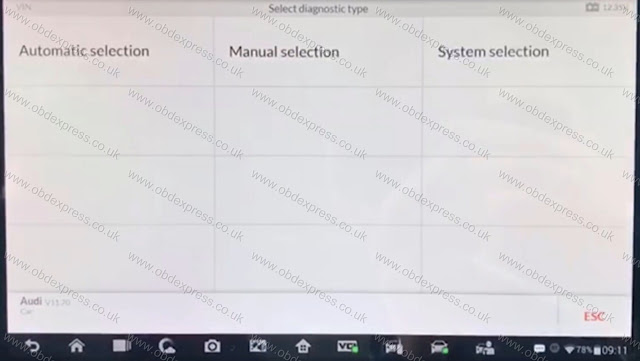
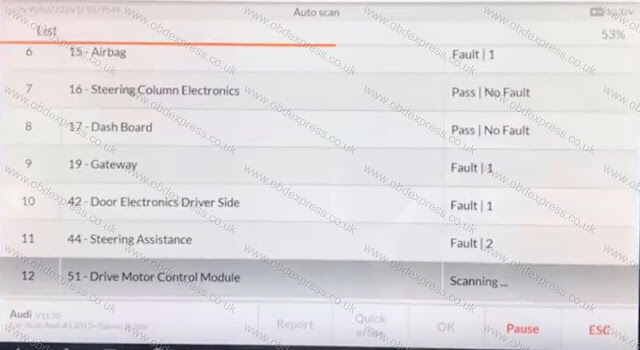
8 steps to use Autel MaxiAP AP200
- MaxiAP200 APP download & setup
Or scan the QR code to download the MaxiAP200 app.
- Register & log in MaxiAP200
Follow the on-screen instructions to complete the registration.
Log in with your registered email address and password.
NOTE: If you have a previously created Autel ID, please use it to log in.
Autel MaxiAP AP200 Language: Polish , Korea , German , Italian , Russian , Dutch , Portuguese , Japanese , Spanish , Swedish , English , French
- Bind VCI of MaxiAP200
dongle to enter the serial number. Check if the email information is correct. Select
Bind to bind VCI.
- Purchase & install software for Maxi AP200
- Hook the connector of the MaxiAP200 tool up the vehicle's Data Link Connector
The vehicle's DLC is generally located under the vehicle dash.
- Turn the vehicle ignition to Key On, Engine Off position.
- Autel MaxiAP AP200 VCI Connection
of the Home screen.
For iOS devices, tap Setting > Bluetooth of your iOS device to open the Bluetooth function.
Select the Bluetooth name of the MaxiAP AP200 tool to pair it with the device. The Bluetooth name starts with AP, followed by the serial number of the tool.
Ensure your Android device's Bluetooth is turned on.
When the device is successfully paired with the tool, the LED on the tool will light
solid blue.
Check if the communication status turns to VCI connected. Select Done near the
top left to return to the Home screen.
- Your MaxiAP200 APP is now ready for use
products, tap the banner to visit the product page on Autel websites,
www.autel.com or www.maxitpms.com.
② Application Buttons.
③ Purchased vehicle-specific software (EOBD and Demo are included for free).
④ Plus Icon – Tap to purchase and install vehicle-specific software.
⑤ Navigation Buttons.
2: "Eobd" is free to use
A fast-access option for OBD II/EOBD vehicle diagnosis is available on the Home screen. This option presents a quick way to check for DTCs, isolate the cause of an illuminated malfunction indicator lamp (MIL), check monitor status prior to emissions certification testing, verify repairs, and perform a number of other services that are emissions-related. The OBD direct access option is also used for testing OBD II/EOBD compliant vehicles that are not included in the Diagnostics database.
General Procedure for OBD II/EOBD diagnostics functions:
To access the OBD II/EOBD diagnostics functions
- Select the EOBD button. There are two options to establish communication with the vehicle.
Auto Scan – when this option is selected the diagnostic tool attempts to establish communication using each protocol in order to determine which one the vehicle is broadcasting on.
Protocol – when this option is selected the screen opens a submenu of various protocols. A communication protocol is a standardized way of data communication between an ECM and a diagnostic tool. Global OBD may use several different communication protocols.
- Select a specific protocol under the Protocol option. Wait for the OBD II Diagnostic Menu to display.
- Select a function option to continue.
I/M Readiness
Live Data
On-Board Monitor
Component Test
Vehicle Information
Vehicle Status
NOTE: Some functions are supported only on certain vehicle makes.
This section describes the various functions of each diagnostic option:
DTC & FFD
When this function is selected, the screen displays a list of Stored Codes and Pending
Codes. When the Freeze Frame data of certain DTCs are available for viewing, a snowflake button will display on the right side of the DTC item.
The erase codes function can be applied by tapping the Clear DTC button at the bottom
of the screen.
Stored Codes
Stored codes are the current emission related DTCs from the ECM of the vehicle. OBD II/EOBD Codes have a priority according to their emission severity, with higher priority codes overwriting lower priority codes. The priority of the code determines the illumination of the MIL and the codes erase procedure. Manufacturers rank codes differently, so expect to see differences between makes.
Pending Codes
These are codes whose setting conditions were met during the last drive cycle, but need to be met on two or more consecutive drive cycles before the DTC actually sets. The intended use of this service is to assist the service technician after a vehicle repair and after clearing diagnostic information, by reporting test results after a driving cycle.
- a) If a test failed during the driving cycle, the DTC associated with that test is reported. If the pending fault does not occur again within 40 to 80 warm-up cycles, the fault is automatically cleared from memory.
- b) Test results reported by this service do not necessarily indicate a faulty component or system. If test results indicate another failure after additional driving, then a DTC is set to indicate a faulty component or system, and the MIL is illuminated.
Freeze Frame
In most cases the stored frame is the last DTC that occurred. Certain DTCs, which
have a greater impact on vehicle emission, have a higher priority. In these cases,
the top prioritized DTC is the one for which the freeze frame records are retained.
Freeze frame data includes a “snapshot” of critical parameter values at the time the
DTC is set.
Clear DTC
This option is used to clear all emission related diagnostic data such as, DTCs, freeze frame data and manufacturer specific enhanced data from the vehicle's
ECM.
A confirmation screen displays when the clear codes option is selected to prevent accidental loss of data. Select Yes on the confirmation screen to continue or No to exit.
I/M Readiness
This function is used to check the readiness of the monitoring system. It is an excellent
function to use prior to having a vehicle inspected for compliance to a state emissions
program. Selecting I/M Readiness opens a submenu with two choices:
Since DTCs Cleared – displays the status of monitors since the last time the DTCs
are erased.
This Driving Cycle – displays the status of monitors since the beginning of the current
drive cycle.
Live Data
This function displays the real time PID data from ECU. Displayed data includes analog
inputs and outputs, digital inputs and outputs, and system status information broadcast
on the vehicle data stream.
Live data can be displayed in various modes.
On-Board Monitor
This option allows you to view the results of On-Board Monitor tests. The tests are
useful after servicing or after erasing a vehicle’s control module memory.
Component Test
This service enables bi-directional control of the ECM so that the diagnostic tool is able
to transmit control commands to operate the vehicle systems. This function is useful in
determining whether the ECM responds to a command well.
Vehicle Information
The option displays the vehicle identification number (VIN), the calibration identification,
and the calibration verification number (CVN), and other information of the test vehicle.
Vehicle Status
This item is used to check the current condition of the vehicle, including communication
protocols of OBD II modules, retrieved codes amount, status of the Malfunction Indicator
Light (MIL), and other additional information.
Exiting Diagnostics
The Diagnostics application remains open as long as there is an active communication
with the vehicle. You must exit the diagnostics operation to stop all communications with
the vehicle before closing the Diagnostics application.
NOTE
Damage to the vehicle electronic control module (ECM) may occur if communication is
disrupted. Make sure the wireless connection is properly connected at all times during
testing. Exit all tests before disconnecting the test connection or powering down the tool.
3: Autel MaxiAP AP200 service reset functions details
The Service section is specially designed to provide you with quick access to the vehicle
systems for various scheduled service and maintenance performances. The typical
service operation screen is a series of menu driven executive commands. By following
the on-screen instructions to select appropriate execution options, enter correct values
or data, and perform necessary actions, the system will guide you through the complete
performance for various service operations.
The most commonly performed service functions include:
Oil Reset Service
EPB Service
BMS Service
SAS Service
DPF Service
TPMS Service
IMMO Service
After entering each special function, the displayed screen consists of two applications:
Diagnosis and Hot Functions. The Diagnosis is for you to read/clear data since this is
necessary after some special functions. Hot Functions consists of sub functions of the
selected special function.
Autel MaxiAP AP200 scanner overview:
Enjoy

